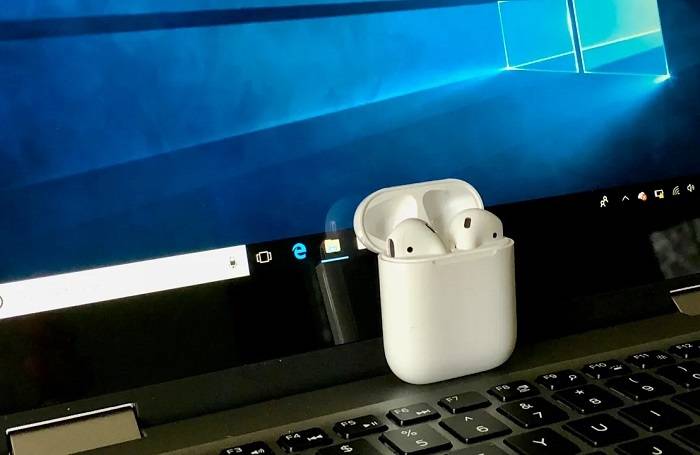
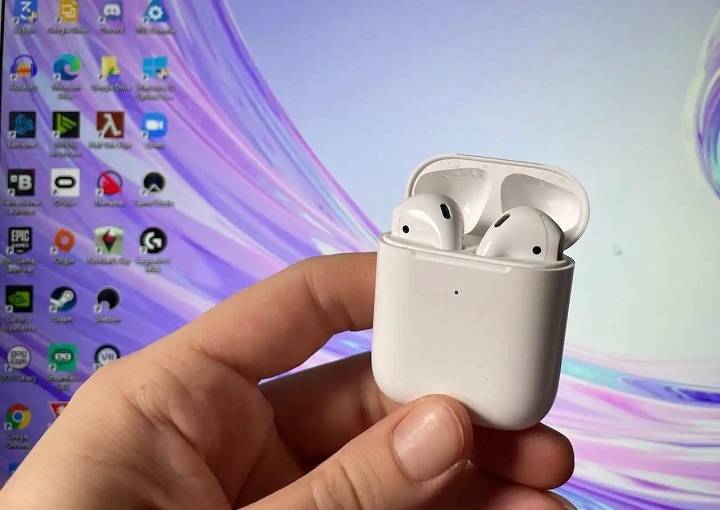
In today’s tech-savvy world, wireless earbuds have become a staple accessory for many, offering convenience and mobility. Among the most popular options are Apple’s AirPods, known for their seamless connectivity and excellent sound quality. While connecting AirPods to your iPhone is a breeze, many users are unsure about how to pair them with their laptops. Fear not! In this comprehensive guide, we’ll walk you through the steps to connect your AirPods to various laptop models, ensuring you can enjoy your favorite music, podcasts, and videos with ease.
Understanding Your AirPods
Before diving into the pairing process, it’s essential to understand the basics of your AirPods. Apple’s AirPods come in two iterations: the original AirPods and the AirPods Pro. While both models offer wireless connectivity, the AirPods Pro boast additional features such as Active Noise Cancellation and customizable silicone ear tips for a more personalized fit. Familiarize yourself with the specific model you own to ensure you make the most of its capabilities.
Compatibility Check
Before attempting to connect your AirPods to your laptop, it’s crucial to ensure compatibility between the two devices. Most modern laptops support Bluetooth connectivity, which is essential for pairing wireless devices like AirPods. However, it’s always a good idea to double-check your laptop’s specifications or user manual to confirm Bluetooth compatibility.
Pairing AirPods with Windows Laptops

Connecting your AirPods to a Windows laptop is a straightforward process. Follow these steps:
- Enable Bluetooth: Navigate to your laptop’s settings menu and locate the Bluetooth option. Ensure that Bluetooth is turned on.
- Open AirPods Case: Open the lid of your AirPods case. The AirPods should enter pairing mode automatically, indicated by the flashing white light on the case.
- Pairing: On your Windows laptop, navigate to the Bluetooth settings and select “Add Bluetooth or other device.” Choose the option for Bluetooth and wait for your AirPods to appear in the list of available devices. Select your AirPods from the list to initiate the pairing process.
- Confirmation: Once paired successfully, you’ll receive a notification on your laptop, indicating that your AirPods are now connected.
- Testing: To ensure the connection is stable, play some audio on your laptop and listen through your AirPods. You can adjust the volume and other settings as needed.
Pairing AirPods with MacBooks
Pairing AirPods with a MacBook is even more seamless, thanks to Apple’s ecosystem integration. Here’s how to do it:
- Enable Bluetooth: Go to the Apple menu on your MacBook and select “System Preferences.” Click on “Bluetooth” and ensure that Bluetooth is turned on.
- Open AirPods Case: Open the lid of your AirPods case near your MacBook. The pairing animation should appear on your MacBook’s screen.
- Pairing: Click on the “Connect” button in the pairing animation on your MacBook. Follow any on-screen instructions to complete the pairing process.
- Confirmation: Once paired successfully, your AirPods will appear in the list of connected devices in the Bluetooth preferences. You’ll also hear a chime in your AirPods, confirming the connection.
- Testing: Play some audio on your MacBook to confirm that the sound is coming through your AirPods. You can also adjust the volume and other audio settings as needed.
Troubleshooting Tips
While connecting AirPods to your laptop is usually a smooth process, you may encounter some issues along the way. Here are some troubleshooting tips:
- Ensure Proper Charging: Make sure your AirPods are sufficiently charged before attempting to pair them with your laptop. Low battery levels can sometimes cause connectivity issues.
- Restart Devices: If you’re experiencing difficulties, try restarting both your laptop and your AirPods. This simple step can often resolve connectivity issues.
- Reset AirPods: If all else fails, you can reset your AirPods to their factory settings. To do this, place them in the case, keep the lid open, and press and hold the setup button on the back of the case until the status light flashes amber a few times, then flashes white.
- Check for Interference: Nearby electronic devices and wireless networks can sometimes interfere with Bluetooth connections. Move away from potential sources of interference or turn them off temporarily.
- Update Software: Ensure that both your laptop and your AirPods have the latest software updates installed. Outdated software can sometimes cause compatibility issues.
Enjoying Your Wireless Freedom
With your AirPods successfully paired with your laptop, you can now enjoy the freedom of wireless audio wherever you go. Whether you’re listening to music while working, watching movies during a long flight, or participating in video calls with crystal-clear sound, your AirPods provide a seamless audio experience.
Connecting your AirPods to your laptop is a simple process that enhances your audio experience and provides the freedom to enjoy your favorite content without being tethered by wires. By following the steps outlined in this guide and utilizing the troubleshooting tips provided, you can ensure a seamless and enjoyable wireless experience with your AirPods and laptop. Say goodbye to tangled cables and hello to wireless freedom!


